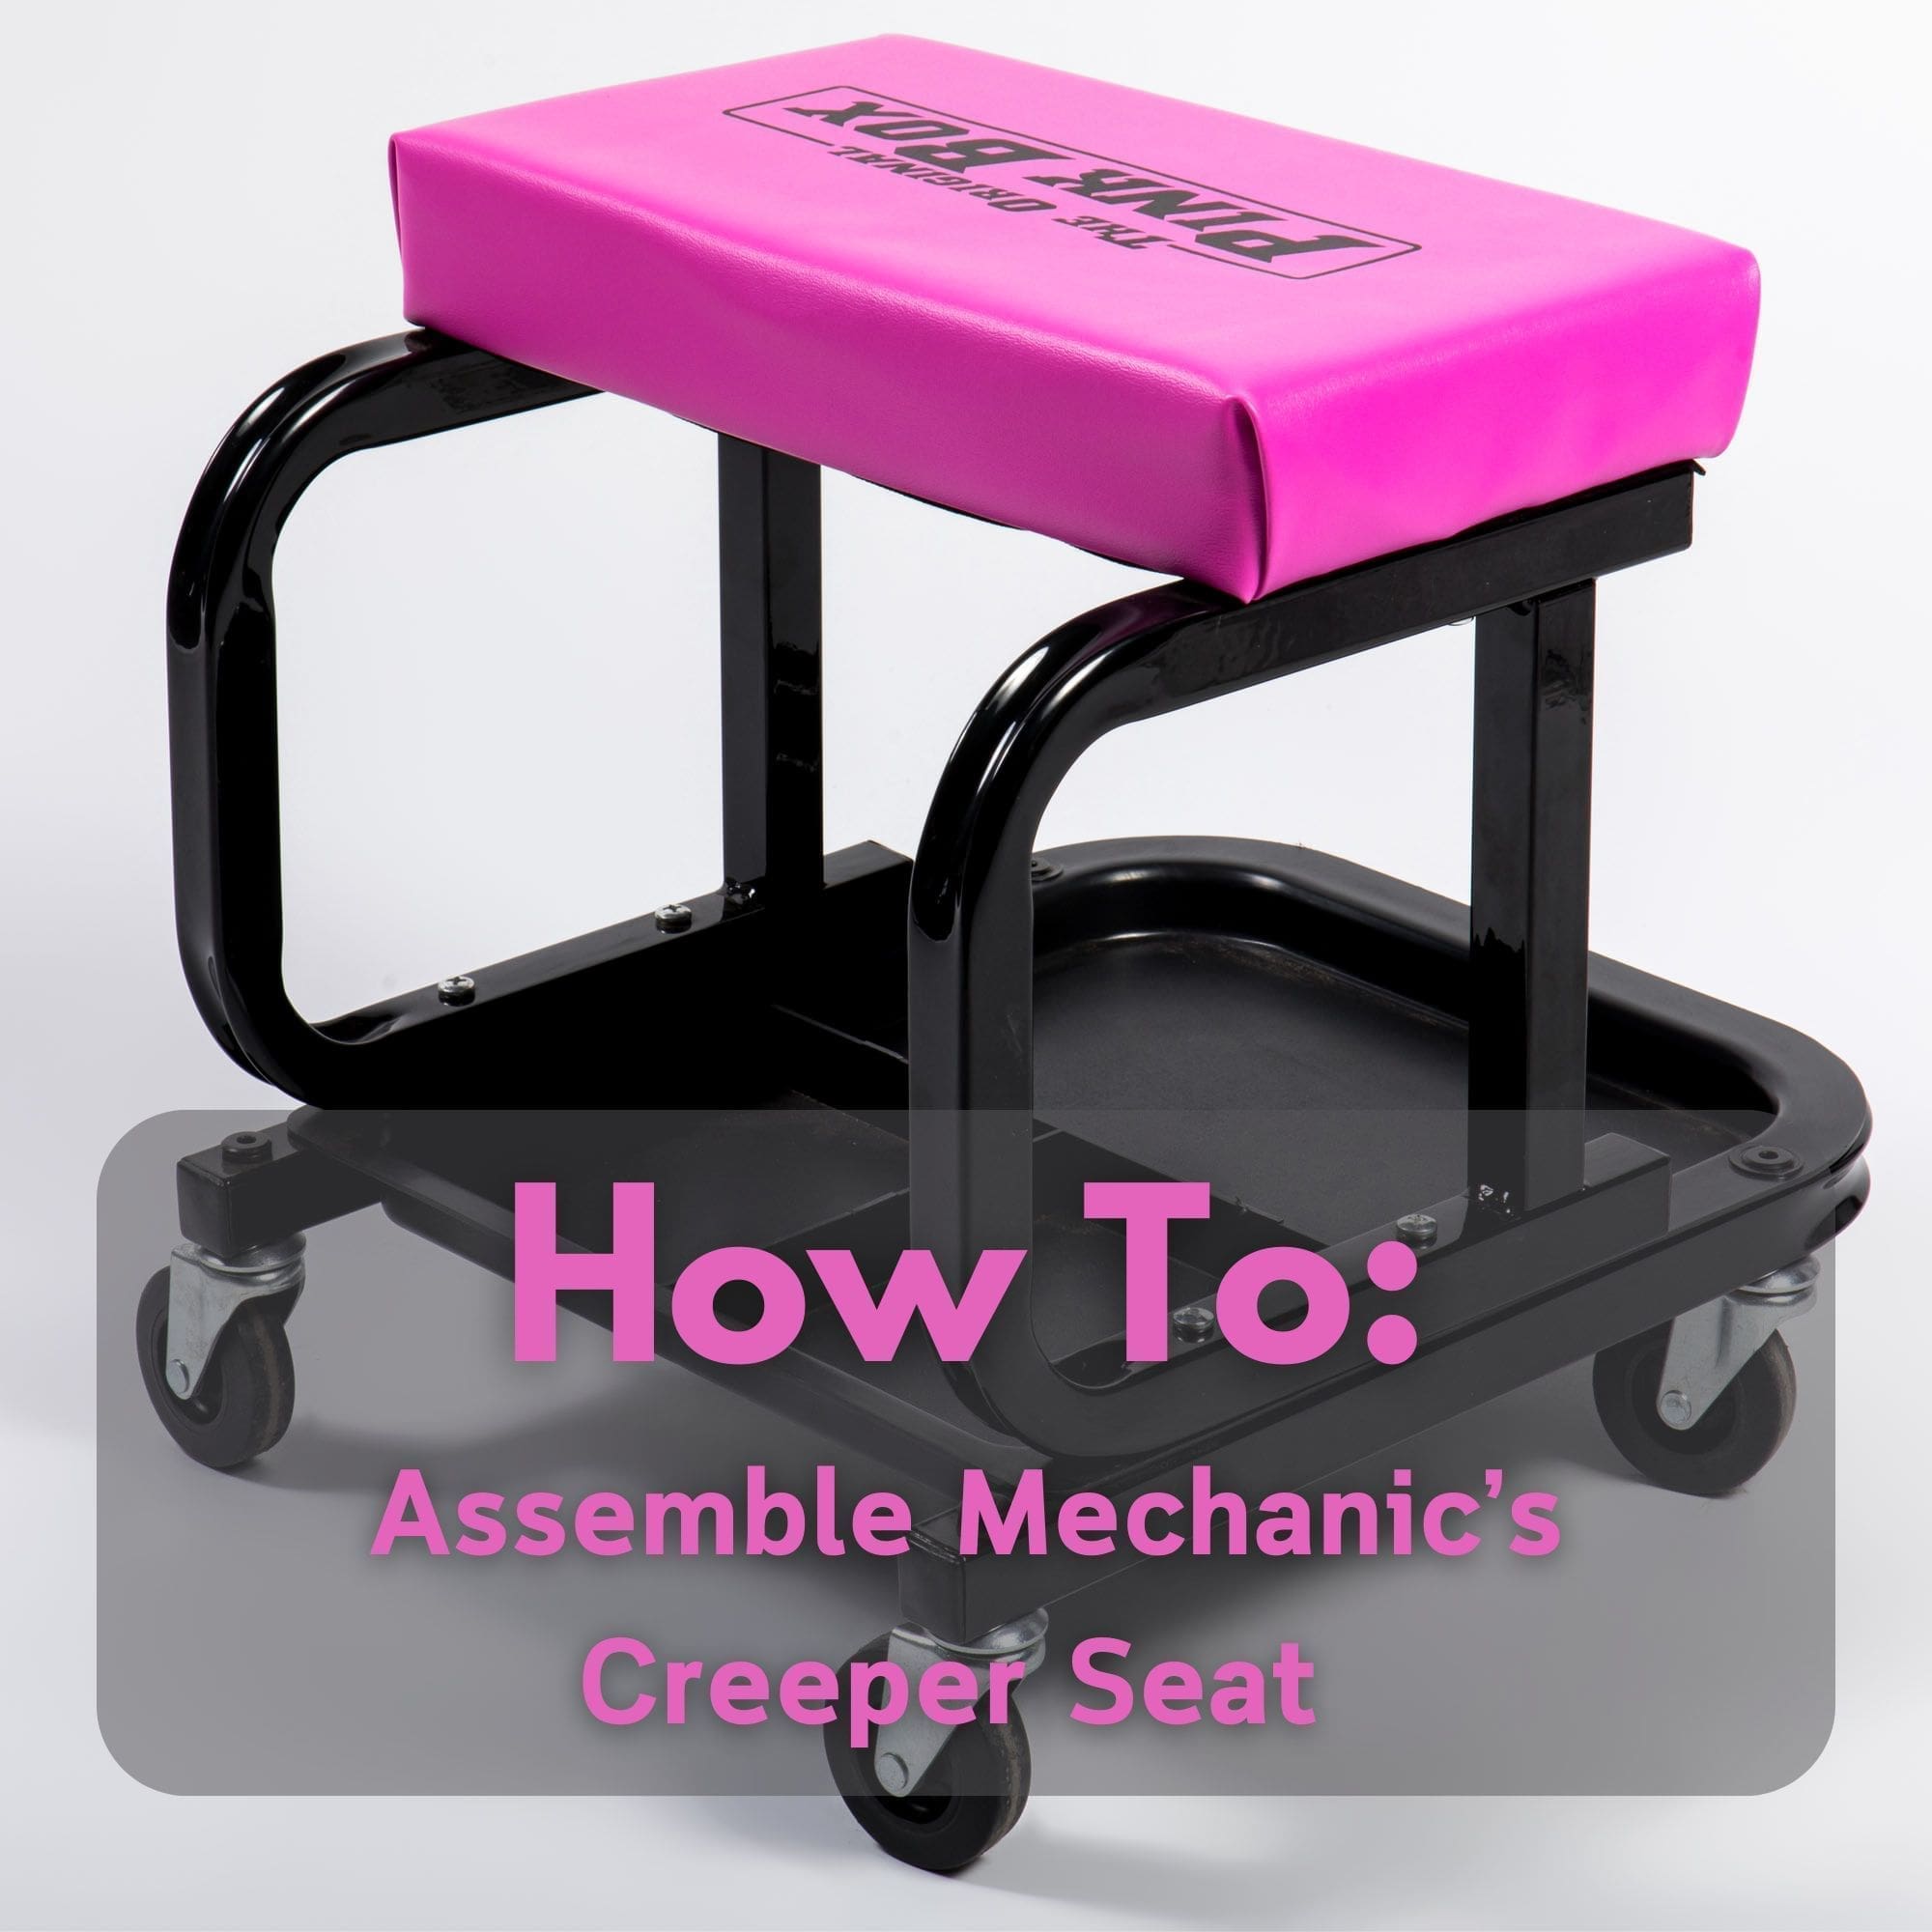
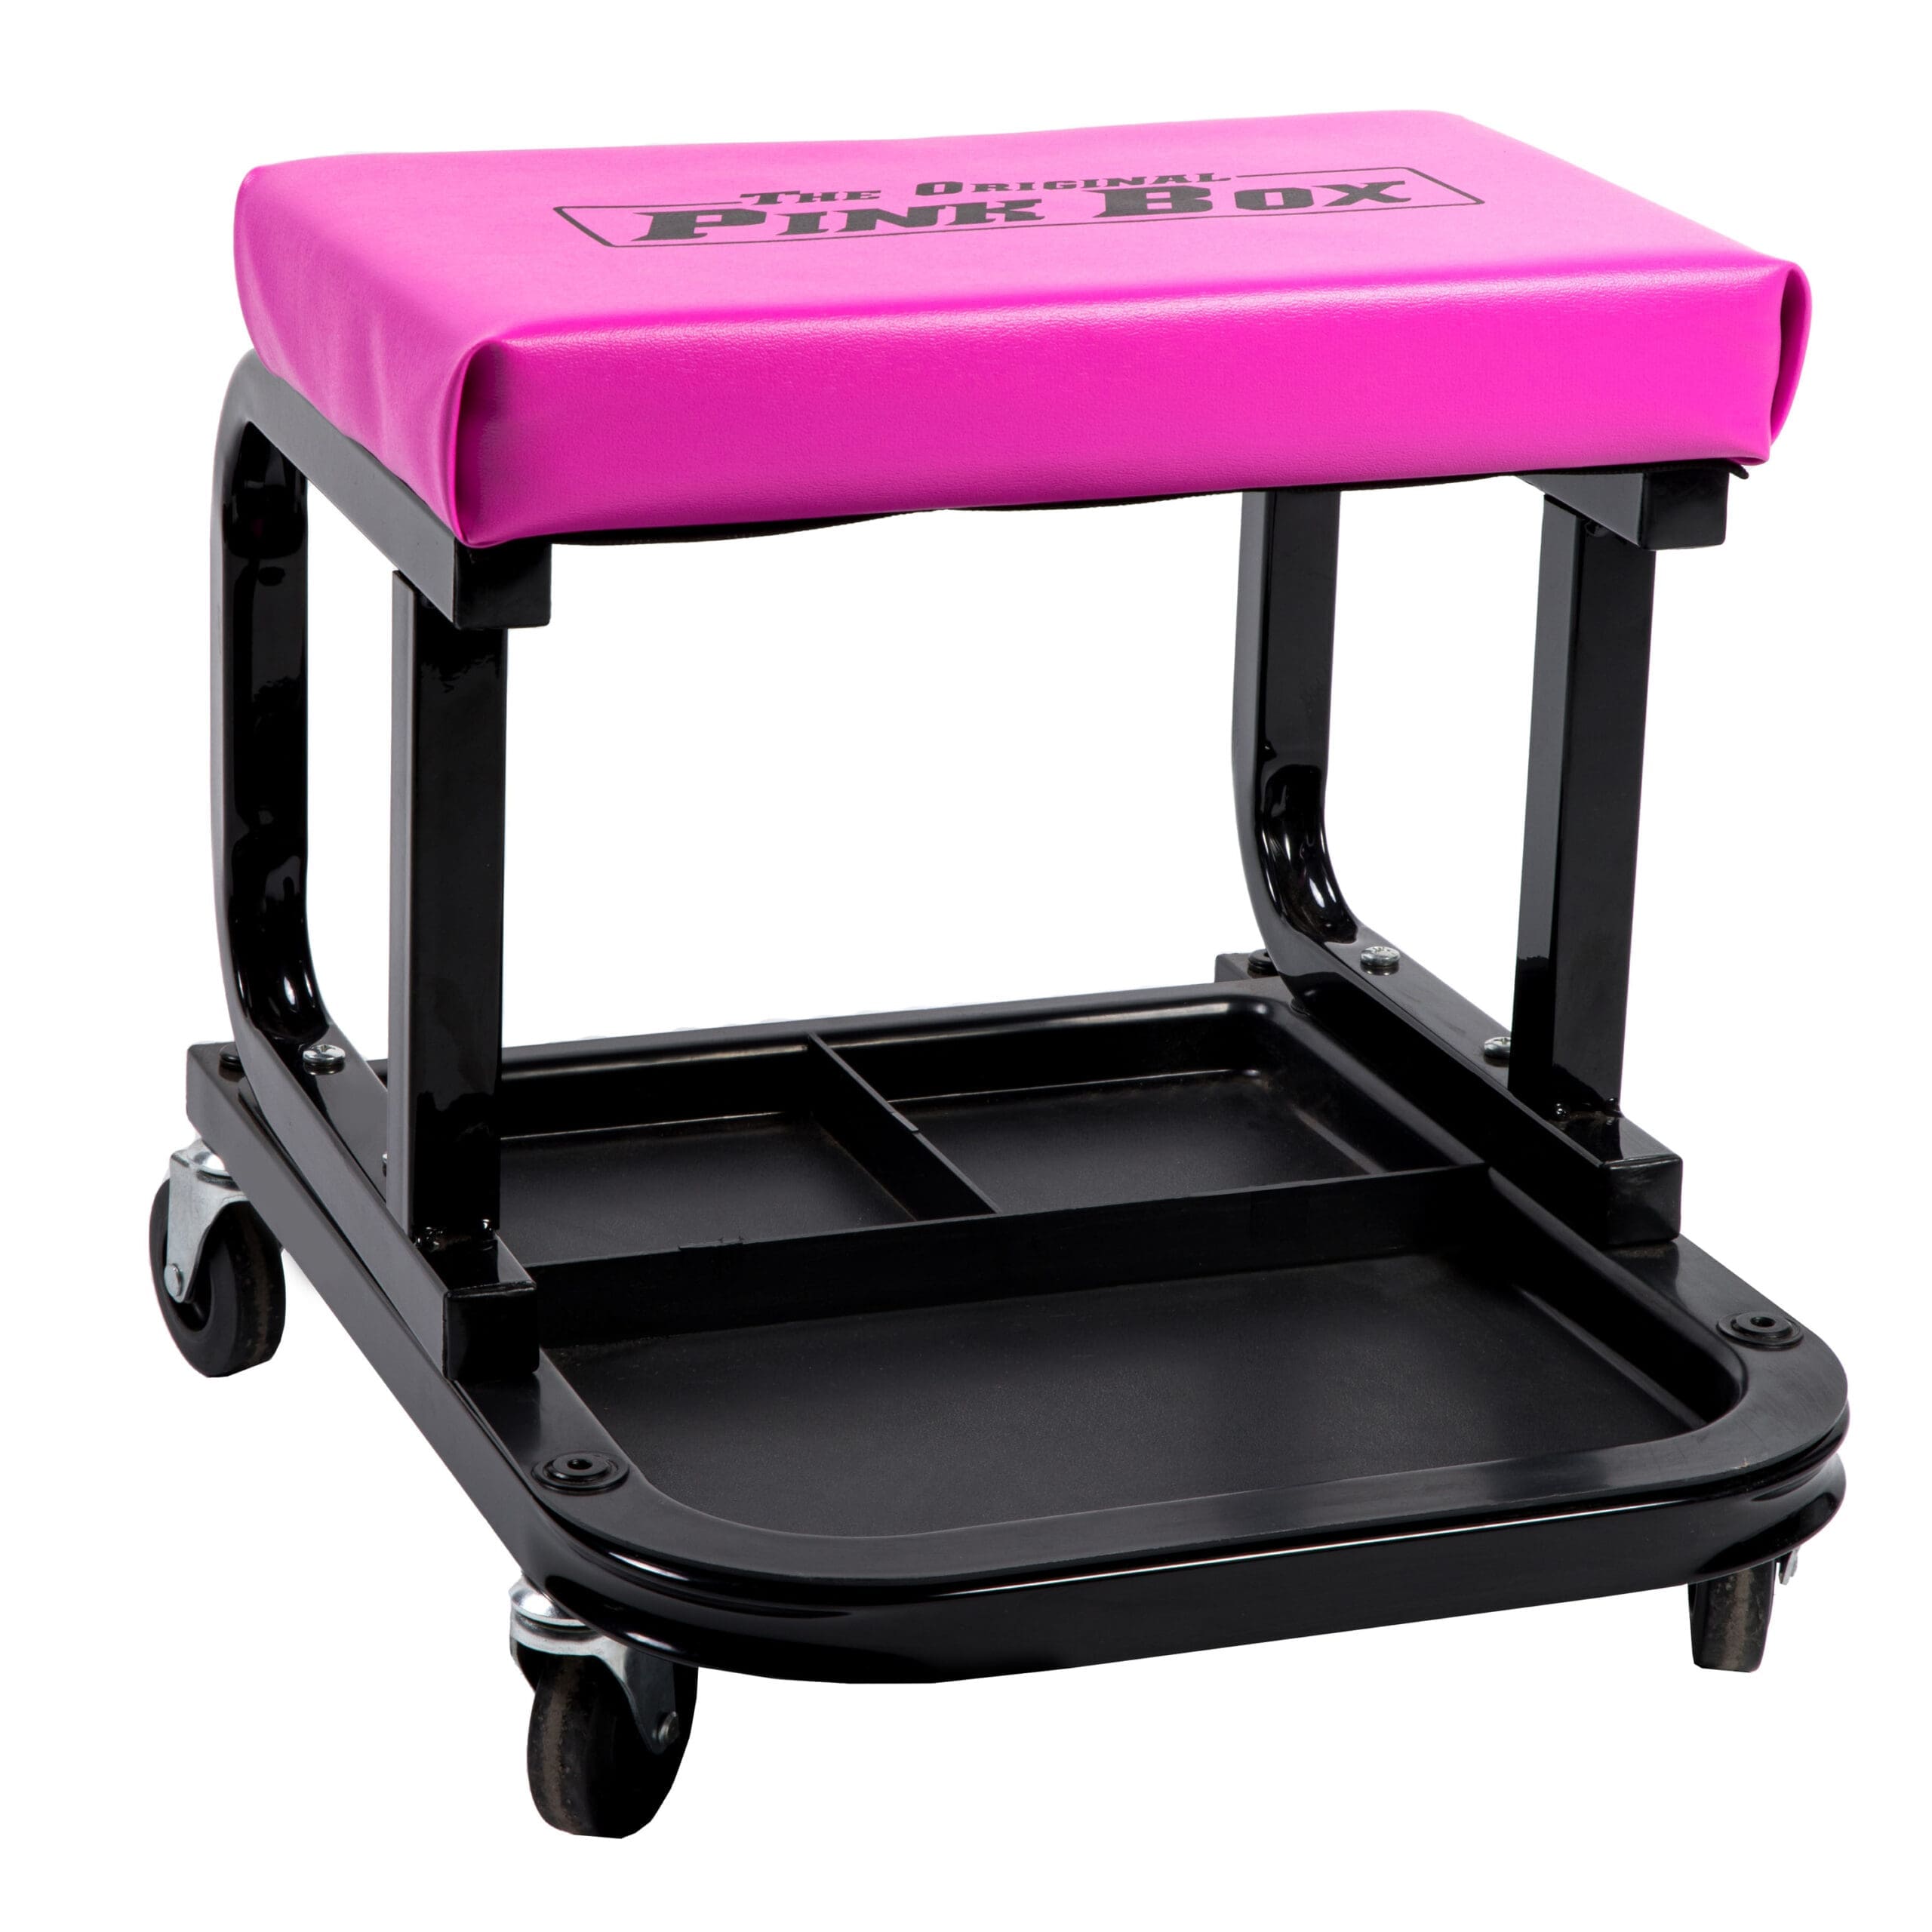
If you’ve just purchased one of our mechanic’s creeper seats, you’re almost ready to roll! With just a few steps, you’ll learn how to assemble your mechanic’s creeper seat and have it ready for action in no time.
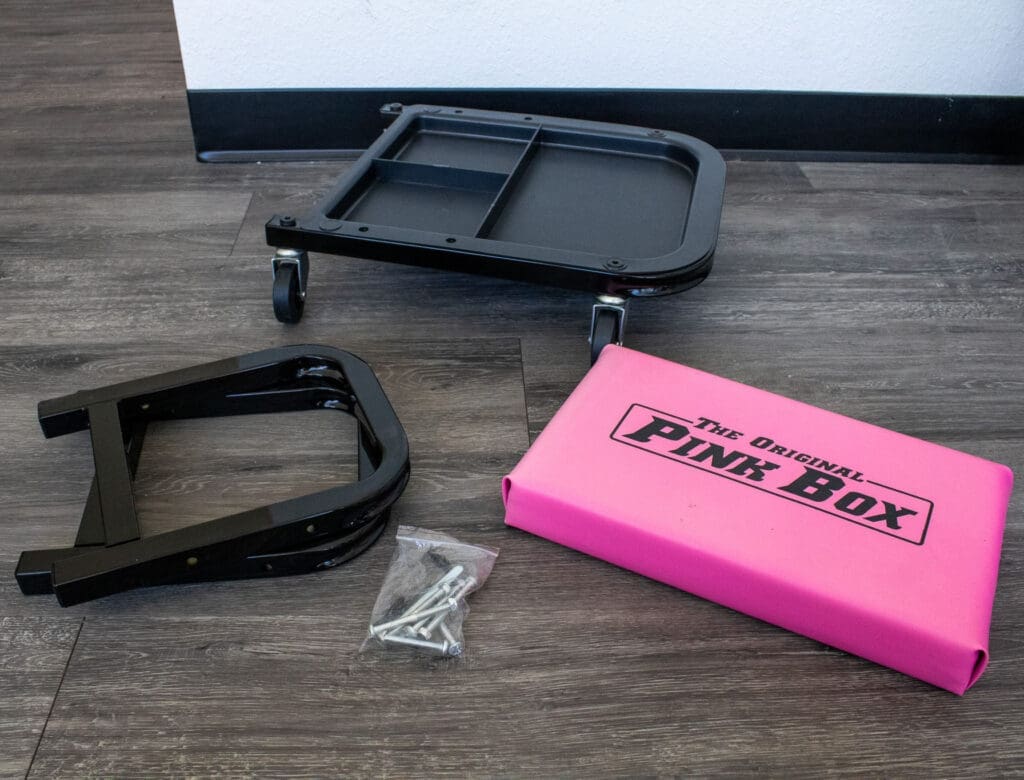
What’s Included:
- Cushioned Seat
- Bottom Tray (casters come preassembled)
- Side Rails (2)
- Wrench
- Allen Wrench
- 2-in Long Screw (2)
- 3-in Long Half Threaded Screw (4)
- Nuts (4)
Step-by-Step Assembly Instructions
Step 1: Attach the Side Rails to the Bottom Tray
- Locate the two side rails. Notice that one end of each rail is curved while the other is straight.
- Position the side rails so the curved ends face the back of the bottom tray.
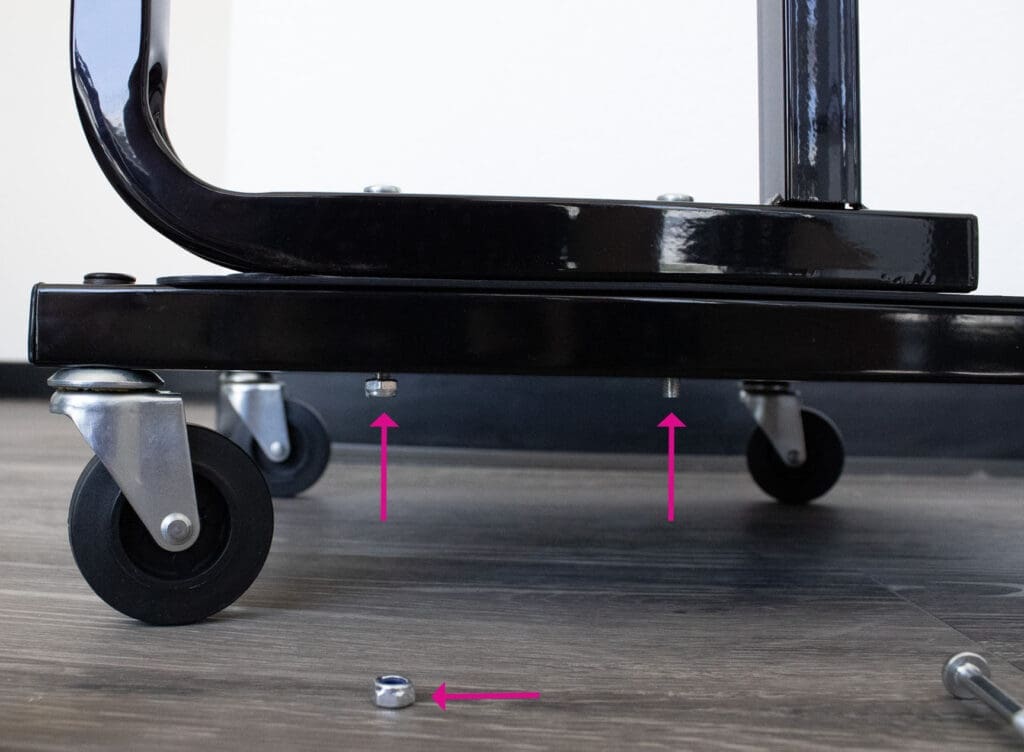
- Use the 3-inch half-threaded screws (4 total) and the nuts (4 total) to secure the side rails to the bottom tray.
- Hand-tighten the nut on the bolt.
- Once all four screws are in place, use the included wrench to fully tighten the nuts and secure the side rails.
Step 2: Attach the Cushioned Seat to the Side Rails
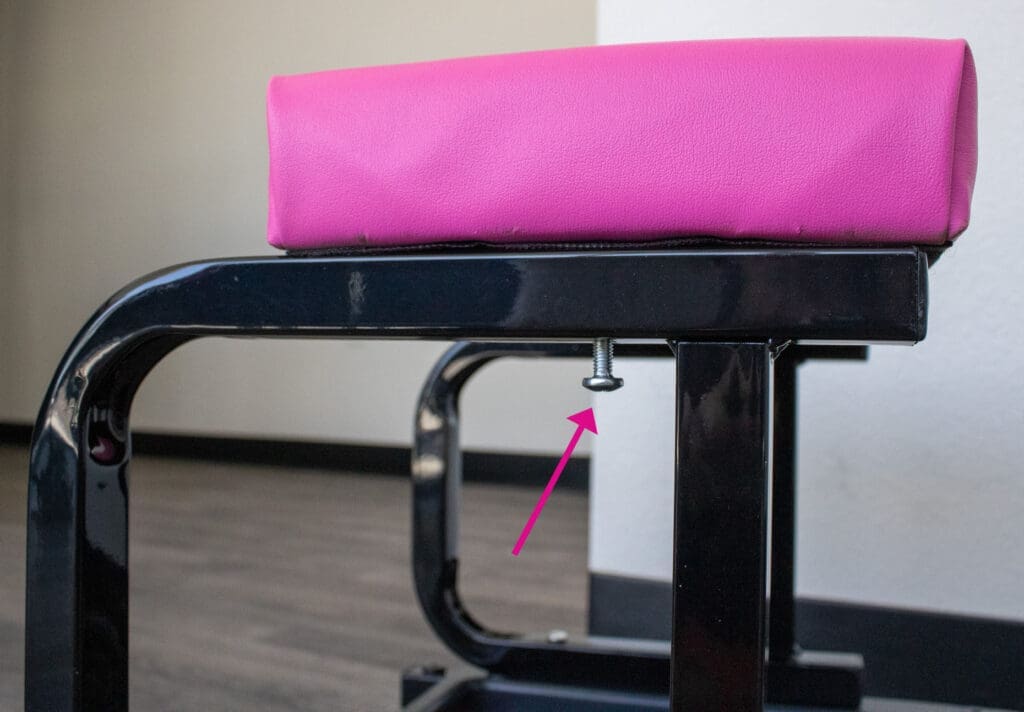
- Take the cushioned seat and align it with the top of the side rails.
- Using the 2-inch screws (2 total), attach the seat to the side rails.
- Tighten the screws using the provided Allen wrench.
Done!
You have fully assembled your mechanic creeper seat, and it’s ready to use. With its comfortable cushion and convenient bottom tray, you’ll have easy access to tools while you work. Happy wrenching!
Don’t yet have one? These creeper seats make great additions to any garage or workspace; get one today!
Want to Learn More About the Benefits of Your Mechanic Creeper Seat?
Now that you know how to assemble your mechanic’s creeper seat, check out this post to discover how it can enhance your workspace. From increased comfort to added convenience, this seat is designed to keep you productive and organized on the job:

