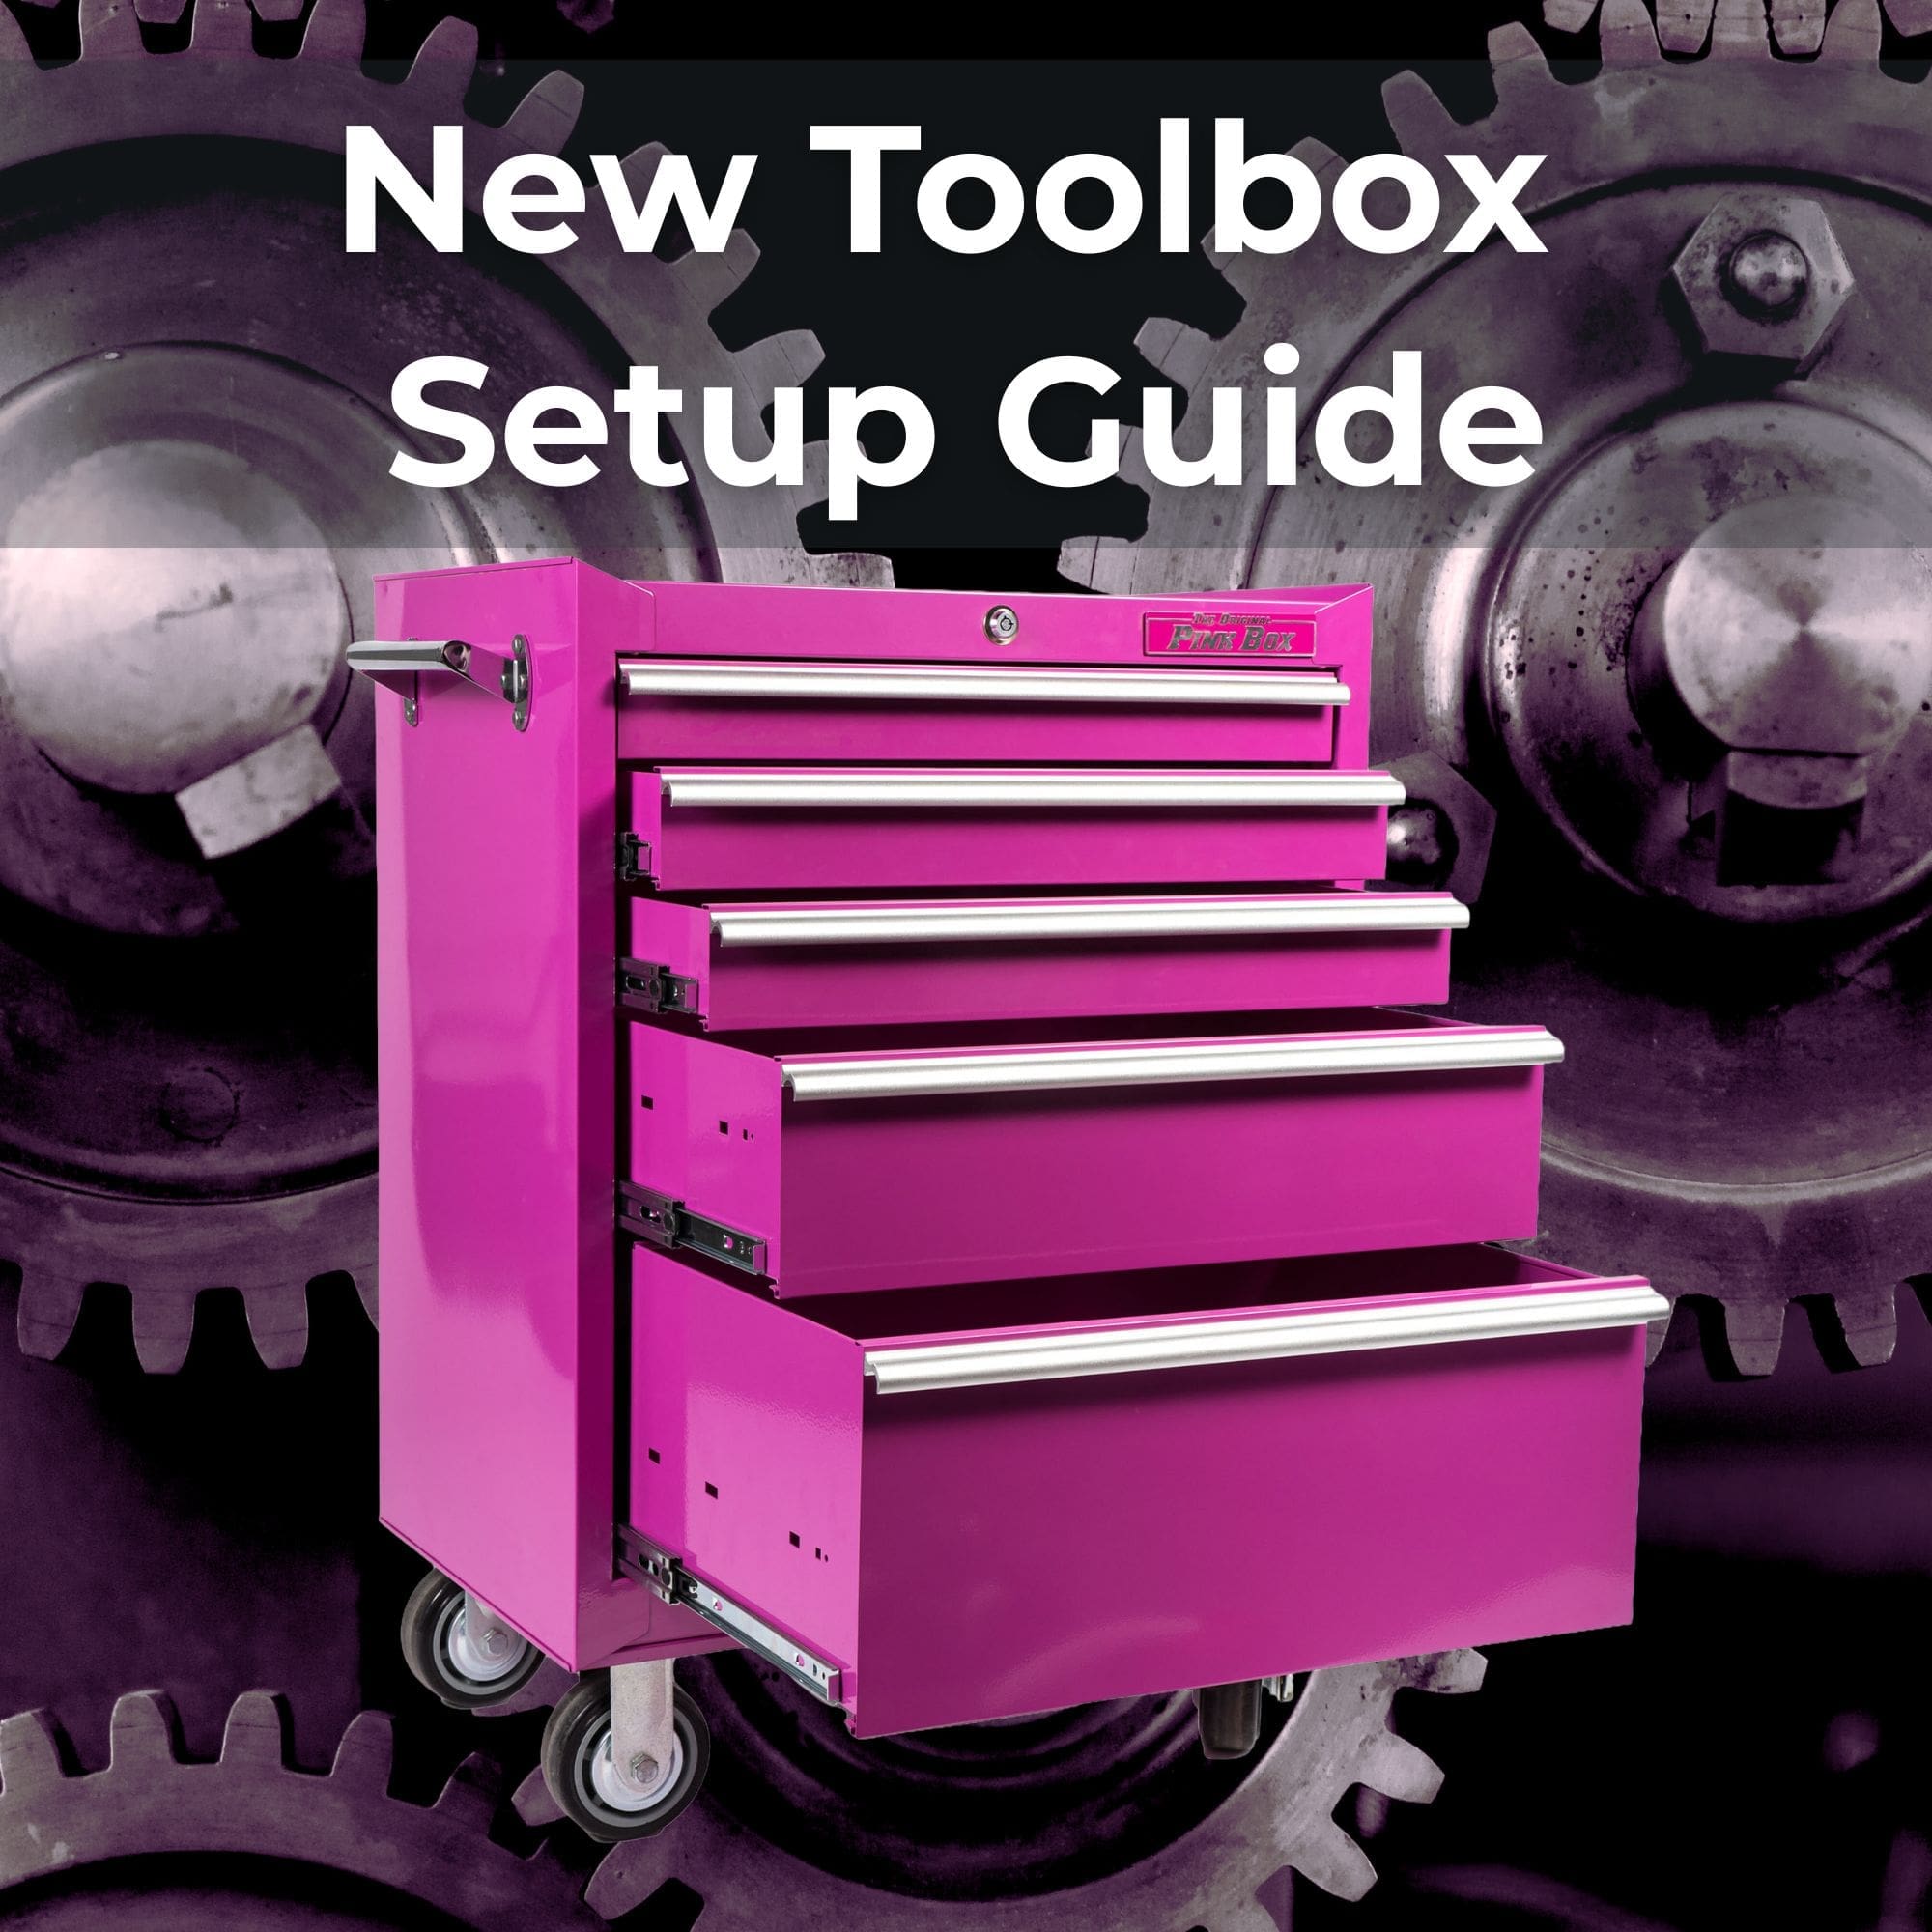
So, your new toolbox has arrived. Exciting! Now it’s time to get it set up and ready for use. Whether you’ve purchased a rolling toolbox or a stationary top chest, this guide will walk you through the process from unboxing to full setup.
What’s Included?
Before you start, take inventory of what comes with your toolbox. The manual will show you EVERYTHING that comes with your toolbox, but here’s what you need to finish assembling:
For Rolling Toolboxes:
- 4 casters (wheels)
- Hex bolts
- Washers
- 1 side handle
- Drawer liners (precut or roll)
- 1 pair of keys
For Top Chests:
- Drawer liners (precut or roll)
- 1 pair of keys
Now that you know what’s included, let’s start your setup for that toolbox!
Step 1: Unboxing and Inspection
Start by carefully removing the toolbox from its packaging.
- For smaller toolboxes, this may be as simple as cutting open the box and lifting it out.
- For larger rolling toolboxes on a pallet, follow these steps:
- Cut and remove the straps securing the toolbox.
- Remove any plastic wrap or cardboard protection.
- It’s recommended to have a second person help with lifting and moving.
- Inspect the toolbox for any shipping damage before proceeding. If you notice dents, scratches, or missing parts, contact customer support before continuing.
Have a Top Chest? Jump ahead to Step 4
Step 2: Installing the Casters (Rolling Toolboxes Only)
If you purchased a rolling toolbox, you’ll need to install the casters. Here’s how:
- Lay the toolbox on its back or side for easier access to the caster mounting points. (Use padding to protect the finish.)
- Locate the pre-drilled holes at the bottom corners.
- Align each caster with the holes. Typically, two casters are swivel-style and two are fixed.
- Insert the provided bolts through the holes, securing with washers and nuts.
- Use a wrench to tighten everything securely.
- Once installed, carefully stand the toolbox upright.
Step 3: Installing the Side Handle (Rolling Toolboxes Only)
Most rolling toolboxes come with a side handle for easy maneuvering. Here’s how to attach it:
- Locate the pre-drilled holes on one side of the toolbox.
- Line up the handle with the holes.
- Use the provided bolts and washers to secure it in place.
- Tighten with a wrench until snug.
Step 4: Placing Drawer Liners
Your toolbox includes drawer liners to protect both your tools and the drawers from scratches.
- If the liners are precut, simply place them inside each drawer.
- If the liners come in a roll, measure each drawer and cut pieces to fit.
- Press the liners down to ensure they stay in place.
Final Checks & Tips
- Lock & Key Test: Ensure the lock mechanism works smoothly with the provided keys.
- Caster Locking Test: If your toolbox has locking casters, test them to confirm they hold securely.
- Weight Distribution: When loading your tools, store heavier items in lower drawers to keep the toolbox stable.
Now, your toolbox is fully set up and ready for use! This toolbox setup guide ensures you don’t miss any crucial steps, so you can start organizing your tools right away. Stay tuned for our next guide on how to organize your toolbox efficiently.
Need help or have questions? Drop a comment below or send us a message: