Over time, the slides on your toolbox drawers can wear out, making them difficult to open and close smoothly. If you’re experiencing sticking or wobbling, it might be time for a slide replacement. In this step-by-step guide, we’ll walk you through how to replace drawer slides on your toolbox, ensuring that your drawers glide effortlessly once again.
What you’ll need:
Removal
Remove the Drawer
- Pull the drawer open as far as it goes.
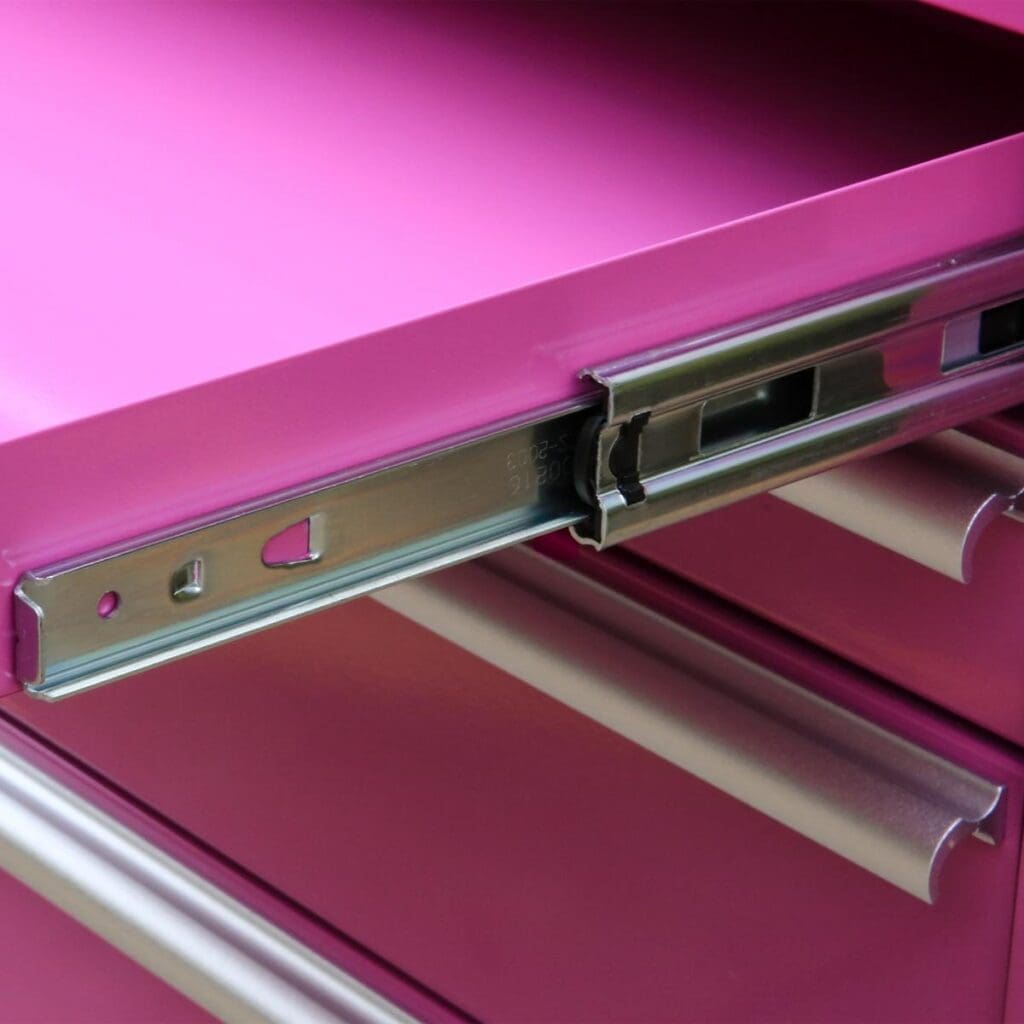
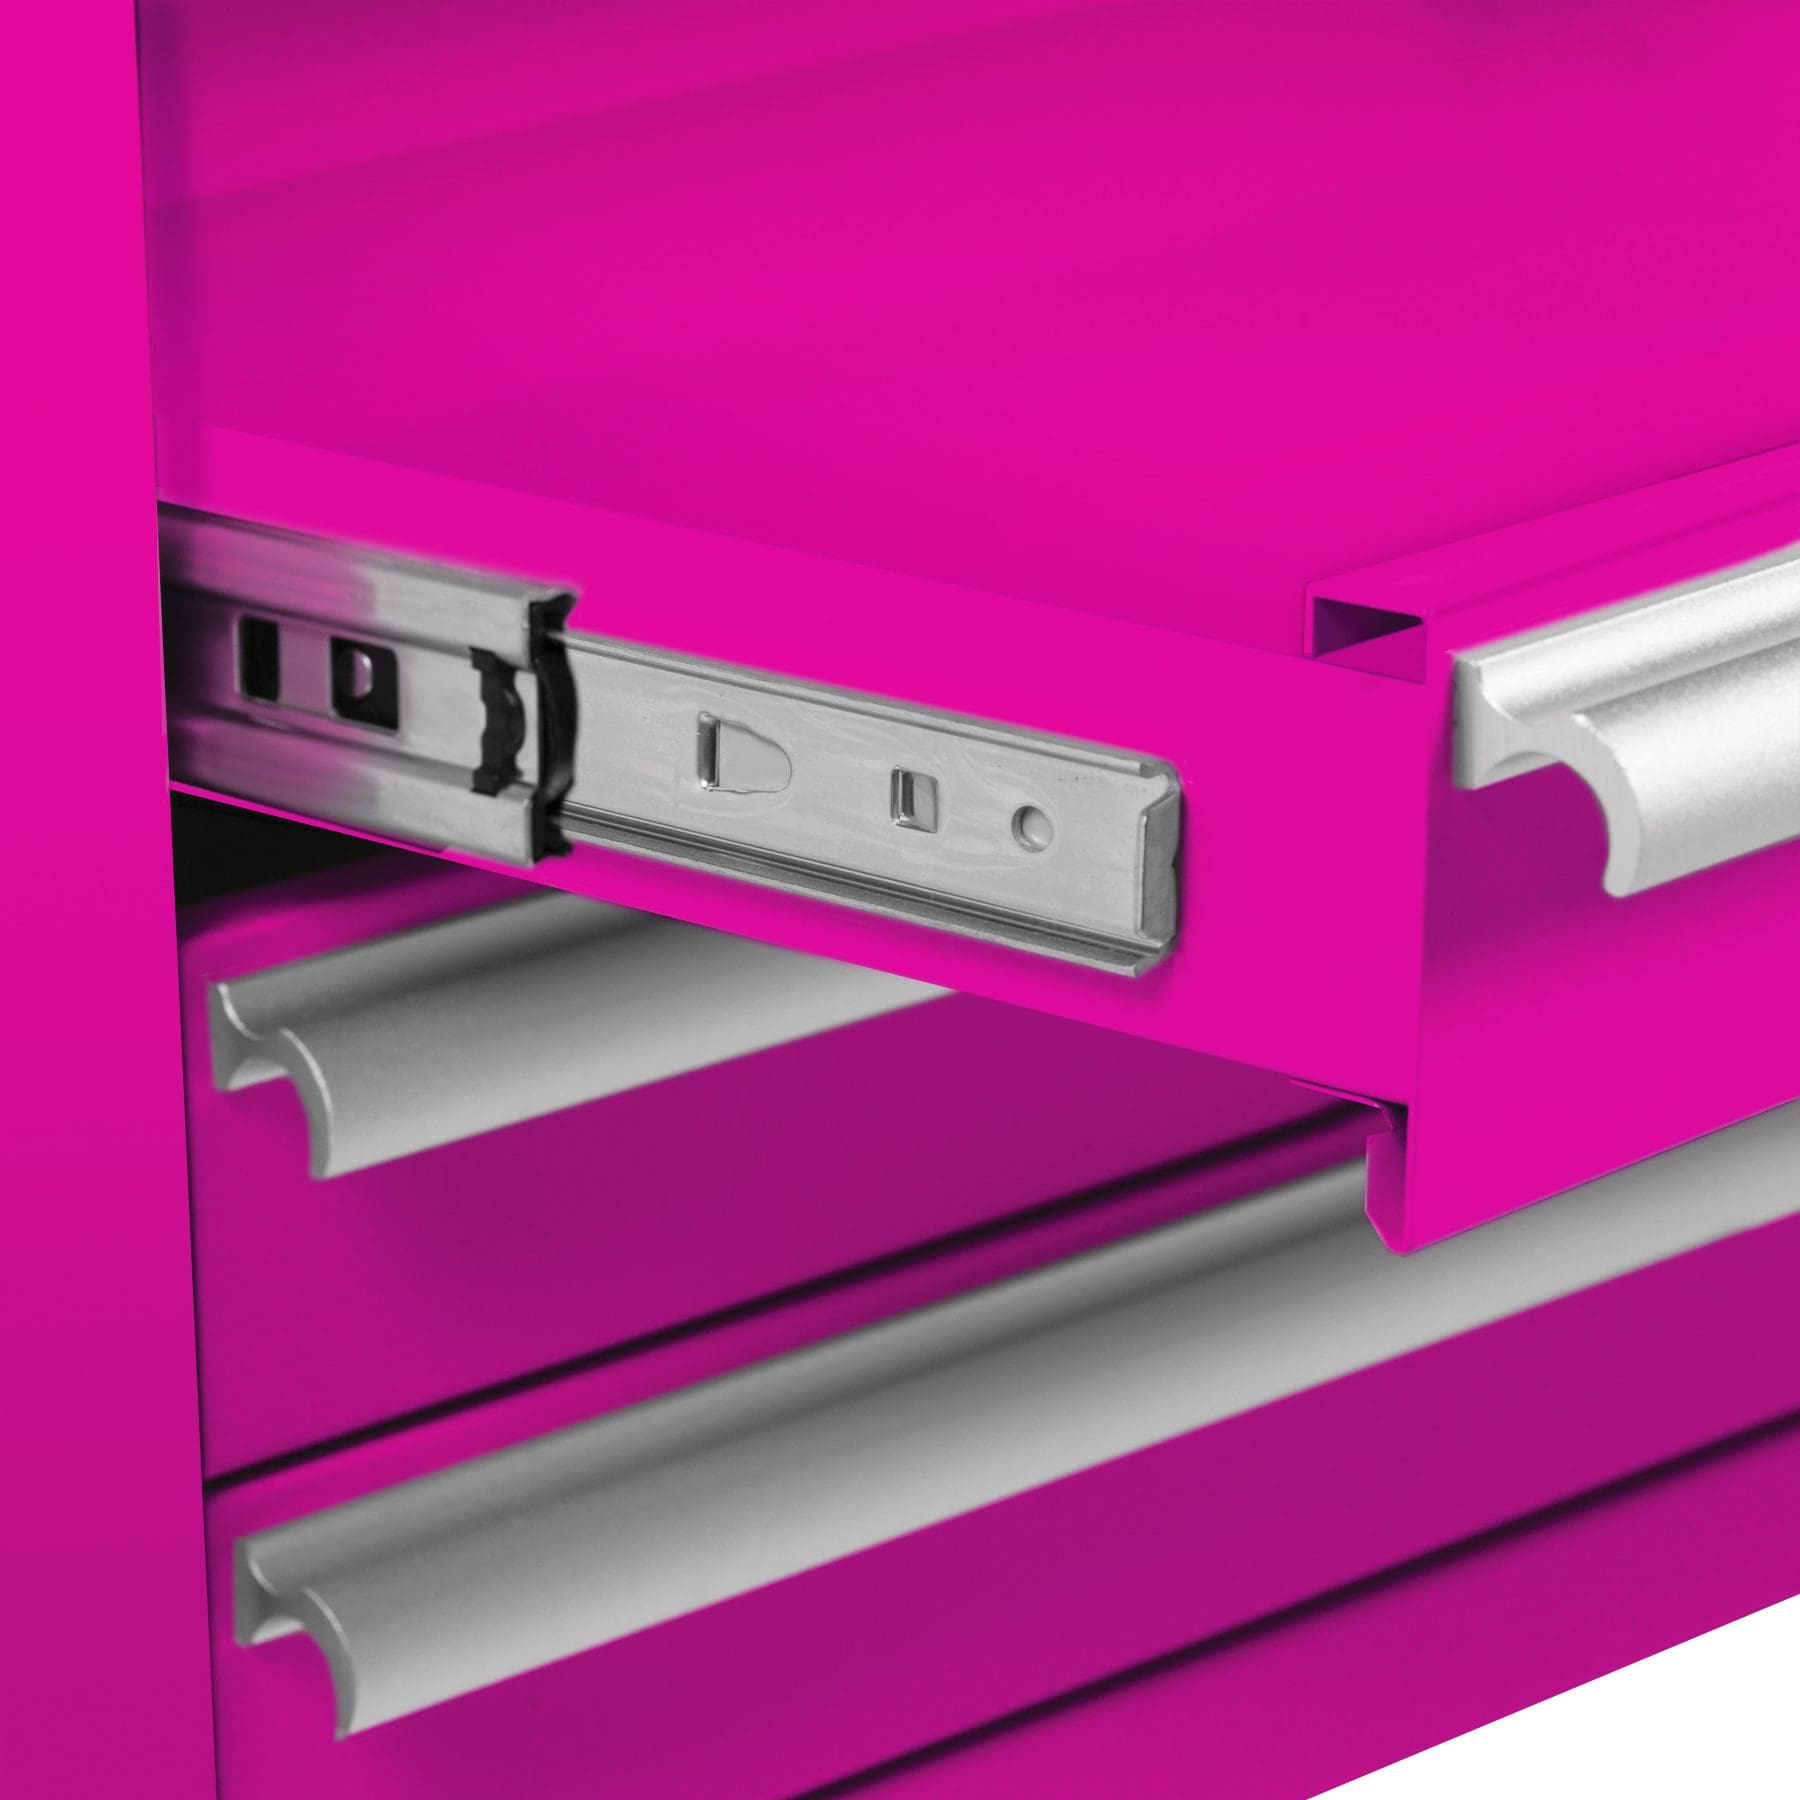
- On the side of the drawer, you should see the slide fully extended. On both sides, there will be tabs that move.
- On the right side, lift the tab up while simultaneously pushing the tab down on the left side.
- Now you can pull the entire drawer out from the toolbox.
- Optional – You may want to remove additional drawers to have more space to work.
Remove the Slide from the Toolbox
- Use a a flathead screw driver to wedge between the slide and the side of the toolbox.
- Lift up the front of the slide (closest to you) to unlatch.
- Then you can pop off the back of the slide.
Each slide has two points of contact with the toolbox.
Remove the Slides from the Drawer
- Use a screwdriver to press the little square on inside of the drawer.
- While pressing, use a mallet to tab the slide until it unclips.

Installation
Install the New Slides on the Drawer
- Match the latches and slide into place.
Install the New Slides on the Toolbox
- Connect the back of the slide first by matching it up with the groove.
- Snap the front of the slide into place by pressing down.
Reinstall the Drawer
- Line up both sides of the slides.
- Push the drawer all the way in.
Get your replacement slides here:
-
 Drawer Slides: 1 PairPrice range: $30.00 through $45.00
Replacing the drawer slides on your toolbox is a straightforward task that can restore smooth operation and extend the life of your tool storage. With the right tools and a little effort, a slide replacement will have your drawers gliding like new. Whether you’re fixing a single drawer or giving your entire toolbox an upgrade, this simple maintenance task is well worth the time.
Check out our other post for additional help:


