
Items needed
- Power Tools
- Circular Saw
- Sander
- Brad Nailer / Stapler
- Jigsaw
- Wet/Dry Vacuum (optional but useful)
- Battery / Charger
- Materials
- Scrap Wood (we used a pallet and a piece of particle board)
- Wood Glue
- Sandpaper
- Screw Eye Hooks (2)
- Paint (optional)
- Stencil (optional)
- Florals (optional)
Instructions

Step One
Use your circular saw to cut planks off the pallet. Try to get as close to the edge as possible without hitting it. You’ll need to press the safety in with your thumb while pulling the trigger to start up the saw.
PINK TIP #1: Use the notch on the saw as your guide.
PINK TIP #2: Depending on what you’re working on, it may be easier to start your saw at an angle.
Step Two (Optional – but recommended)
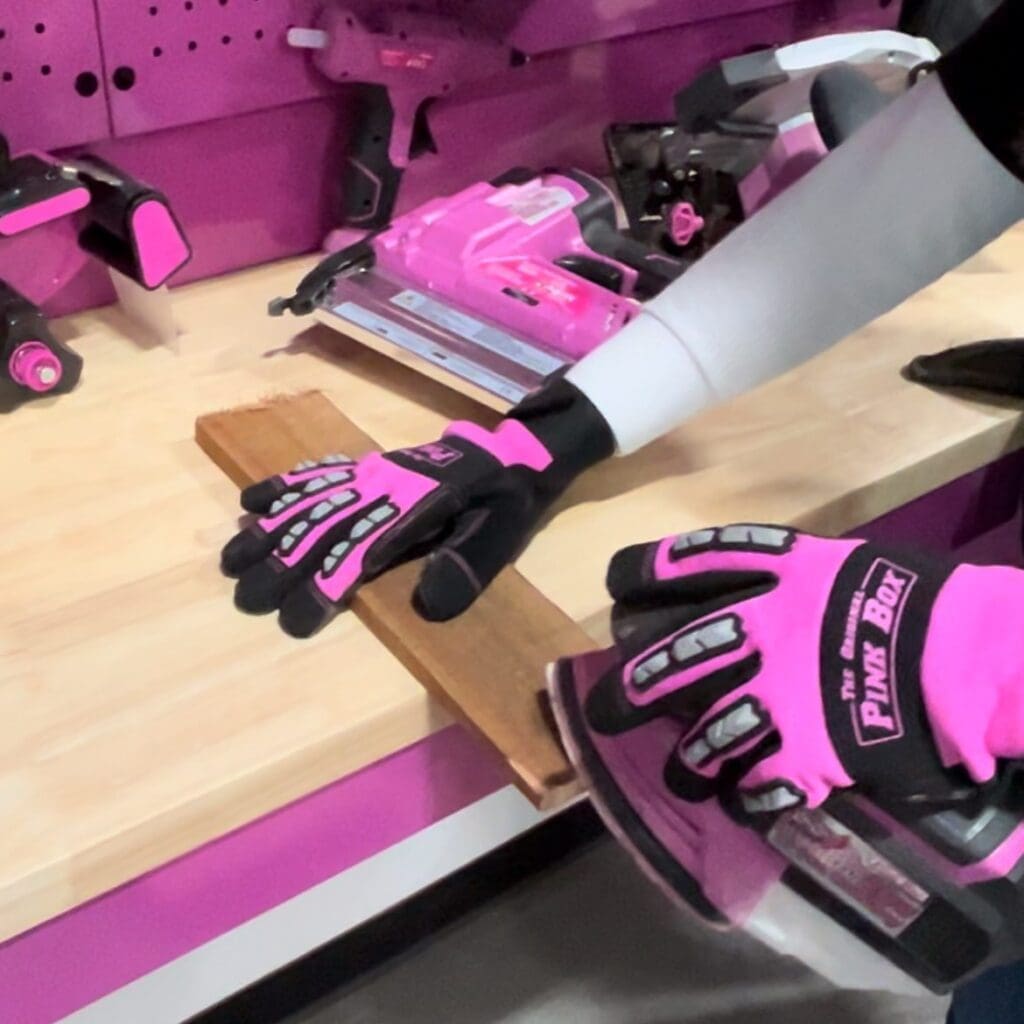
Pallets are notoriously very splittery. We recommend sanding the corners and edges to prevent the wood from biting you during the assembly process.
Depending on the look you’re going for and the material being used, you can also smooth out the surfaces of the planks.
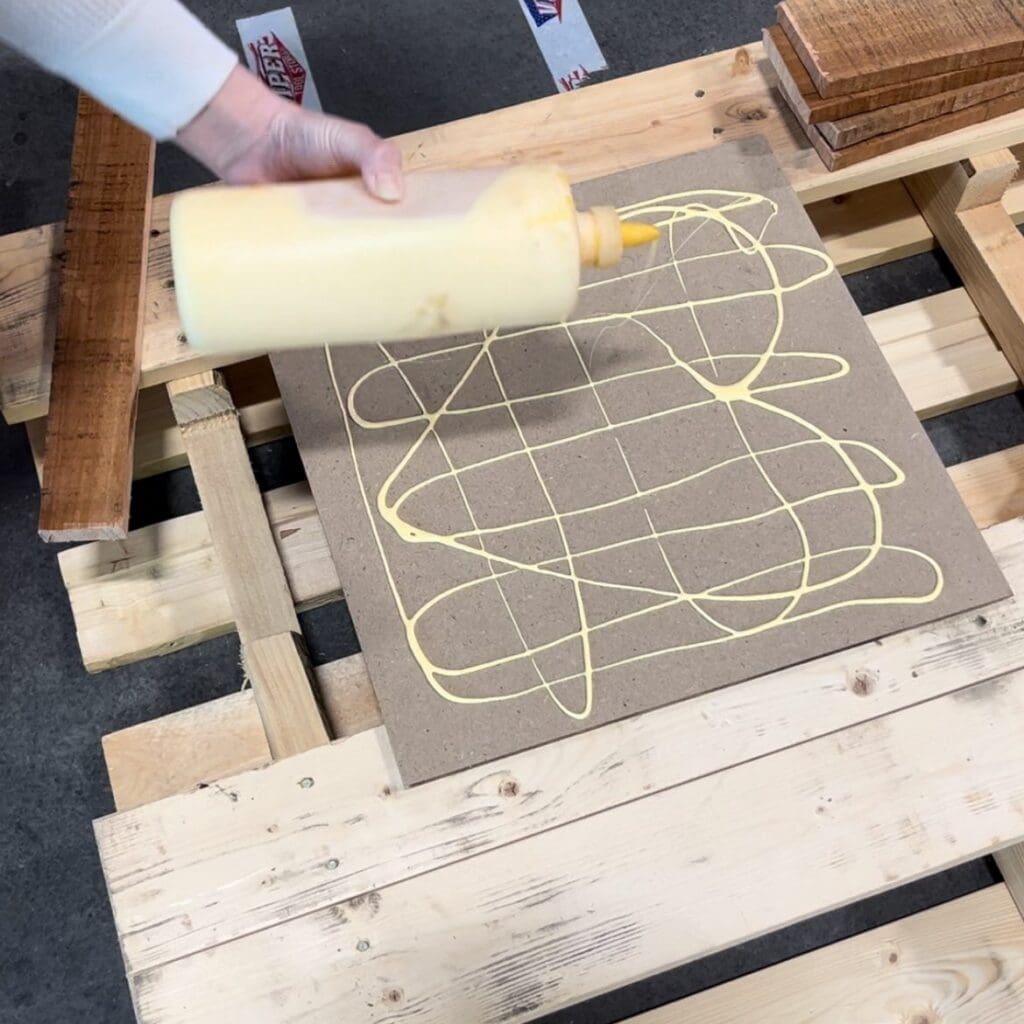
Step Three
Once you have enough pieces to cover your particleboard or plywood, you want to glue the planks down with wood glue. Let the glue dry for about 15 minutes before starting step four.
PINK TIP #3: While your glue is drying, you can use this time to vacuum up the sawdust.
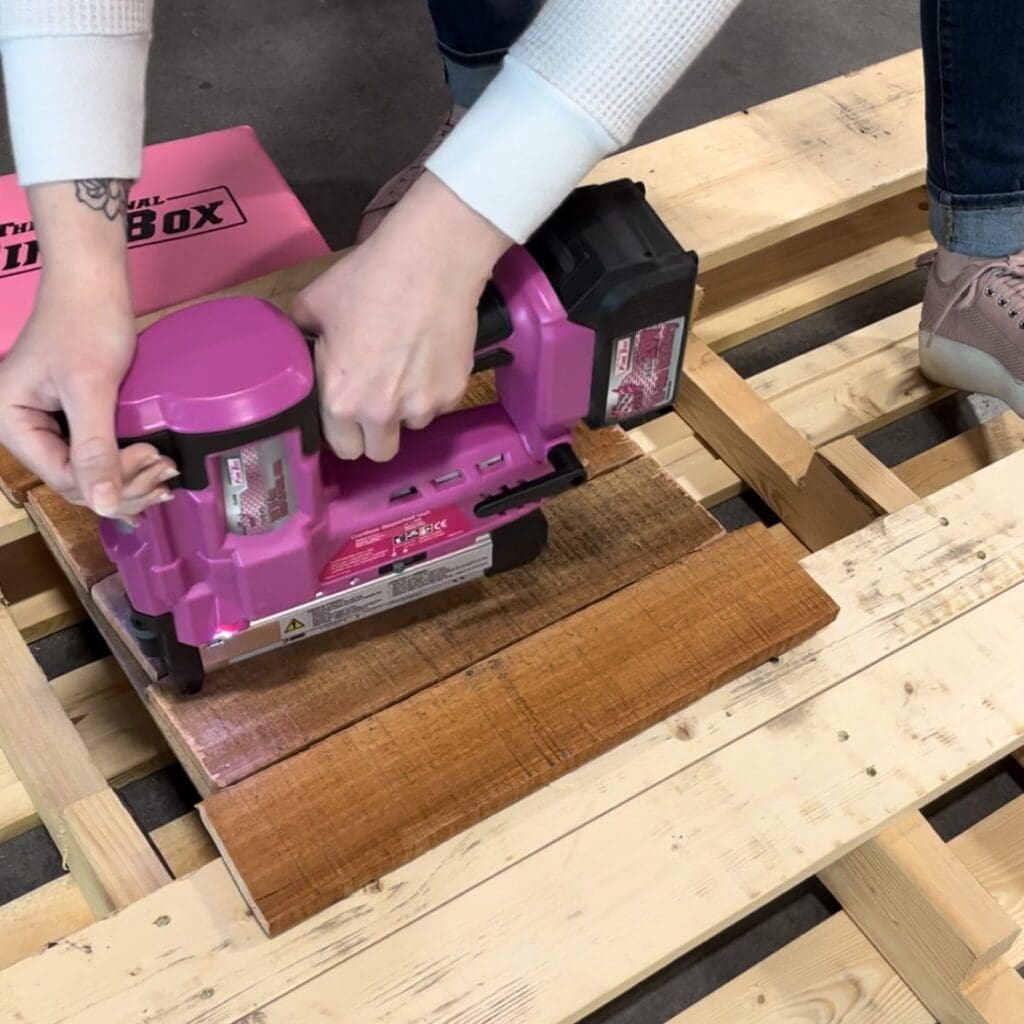
Step Four
You want to make sure everything stays in place, so use your nail gun to secure the planks to the board.
Make sure to remove the safety tip before starting and change the setting to “Single Fire” mode. Press the tip of the nail gun to your plank, press in the safety, and squeeze the trigger to fire one nail. We ended up doing two rows per plank with 4 in each row (a total of 8 nails per plank).
PINK TIP #4: Don’t be like us – measure the depth of your materials BEFORE purchasing nails/staples to avoid them sticking out the backside.
PINK TIP #5: If your nails are too long, you can hammer them flat or cut them flush, then after step six, add a felt backing to avoid sharp edges.
Step Five
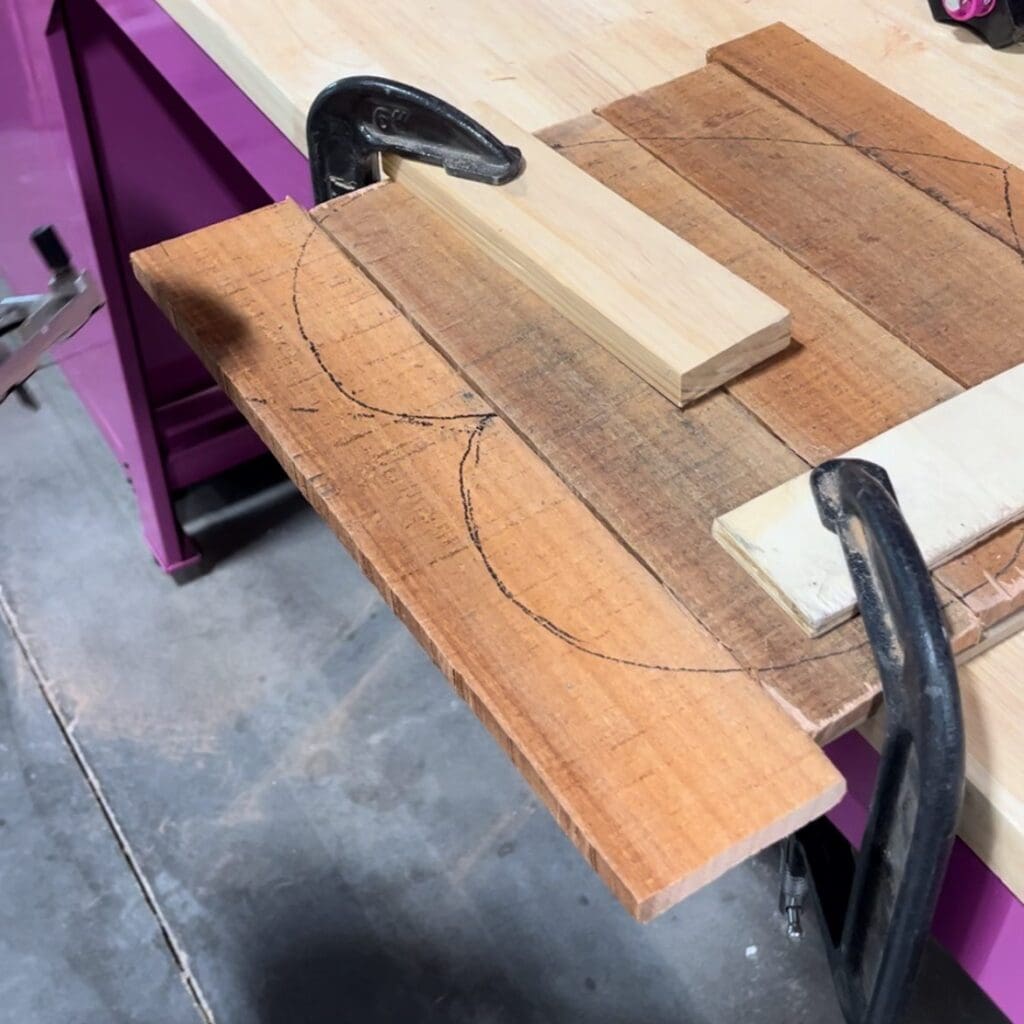
Mark out your heart shape and mount your project to a worktable or surface where you have space and leverage to maneuver your jigsaw. It’s important that this be steady and secure, so we used two C-clamps.
PINK TIP #6: Use a shim or scrap wood between the top of your project and the C-clamp to prevent the clamp from indenting or cracking the project.
Step Six
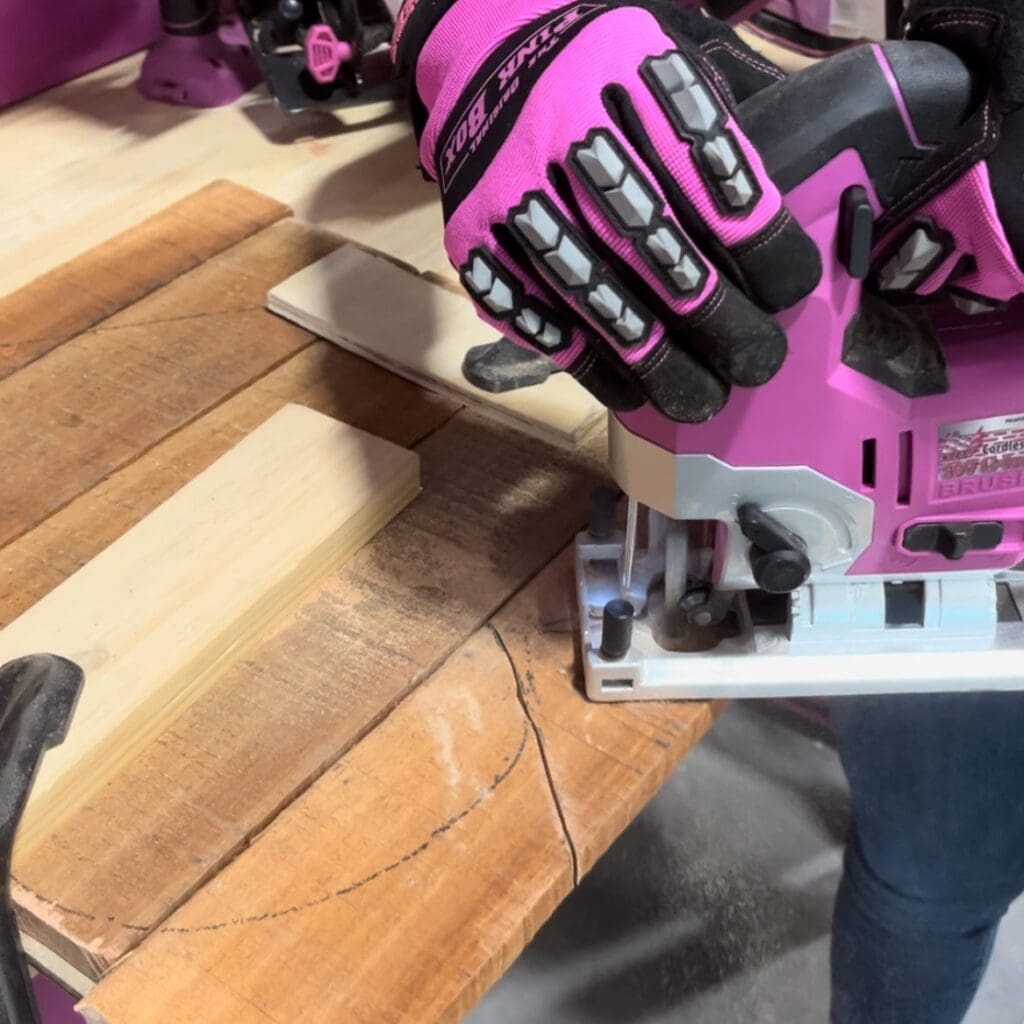
Now the fun (and hard and most difficult) part! Use your jigsaw the cut out your shape. Like the circular saw and nailer, our jigsaw has a safety button you’ll need to press while pulling the trigger.
You’ll need to readjust your projects and clamps as you move around the sides.
PINK TIP #7: If you’re new to this, don’t try to follow the entire curve of the heart. We recommend doing sections at a time.
PINK TIP #8: When working with jigsaws, don’t push forward too hard – the saw needs time to cut through the wood, and pushing it onward will slow it down and make it more difficult for you to control.
Step Eight
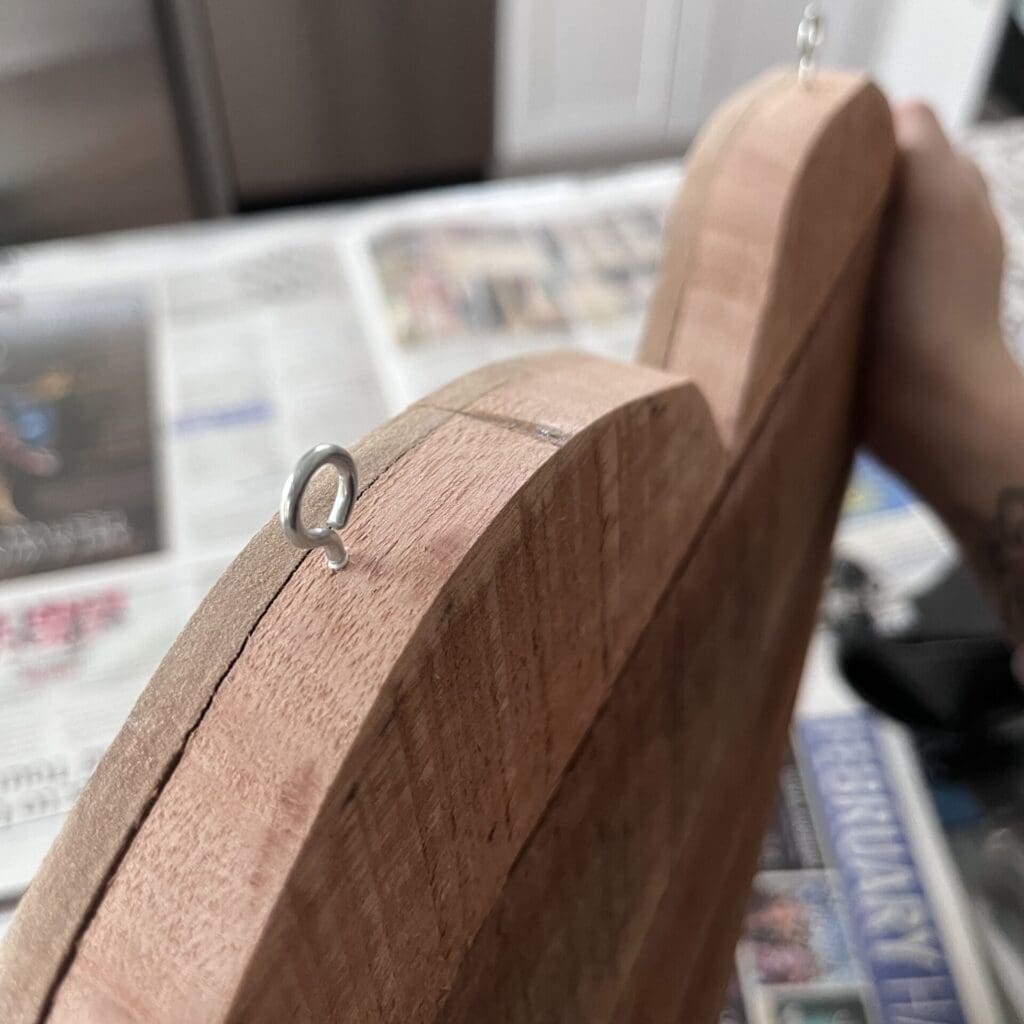
If you’re planning on hanging your rustic heart sign, you’ll need to attach some hardware. We used two metal circle hooks at the top.
If your wood is soft enough, you should be able to screw these in by hand, otherwise, use a drill and a similarly sized bit to make a pilot hole.
Step Nine
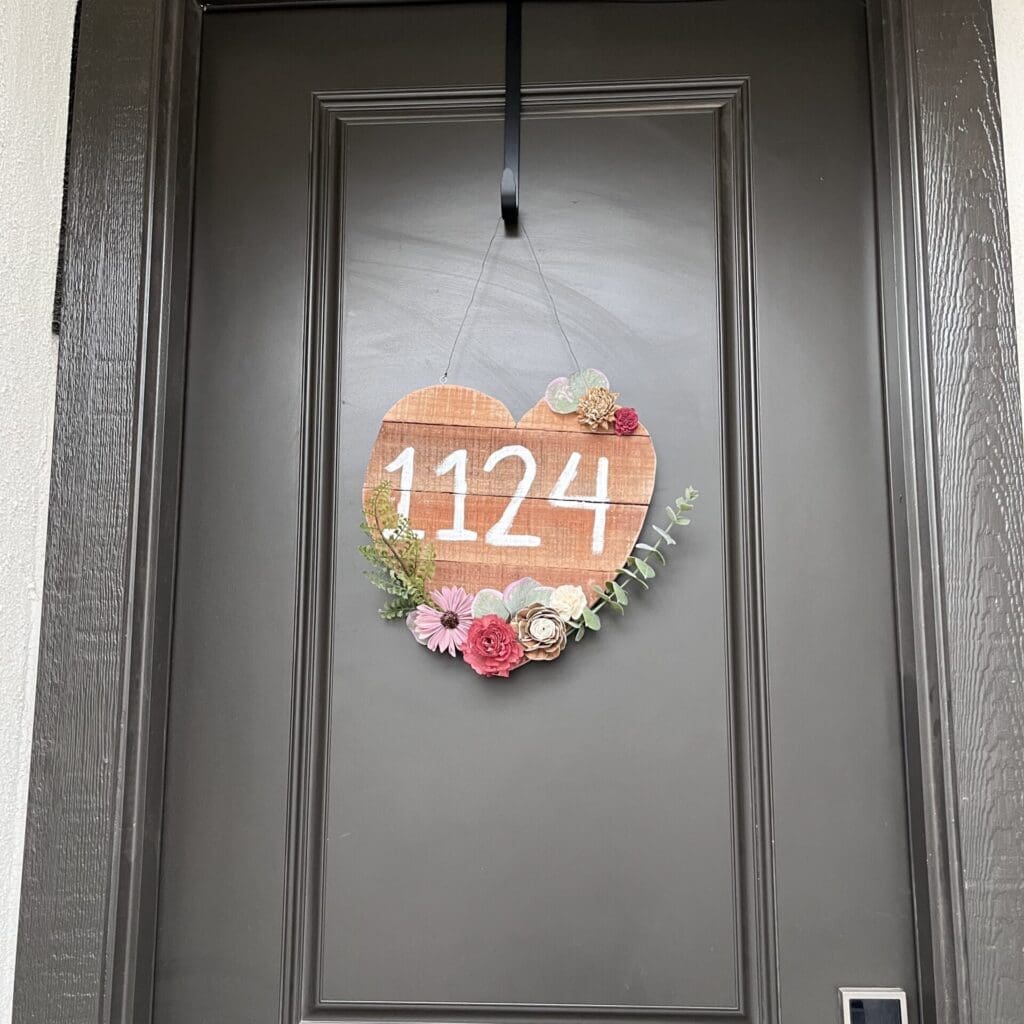
You made it this far, great job! After all your hard work, it’s finally time to decorate.
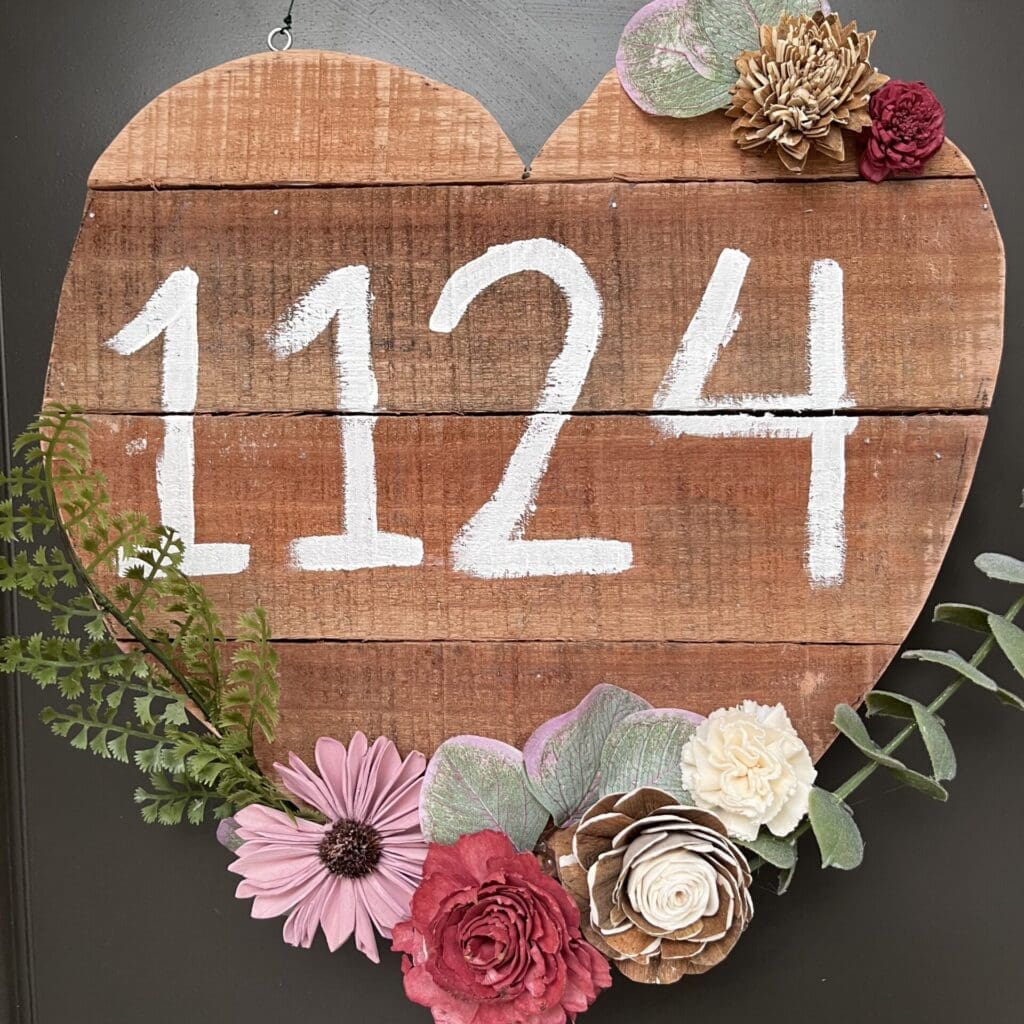
Using plain acrylic paint we had on hand, we wrote out our house number. This heart can also be left plain, sanded and stained, painted completely, or even other writings, such as you see on conversation heart candies.
We also had a few picks of greenery and sola wood flowers handy – of course, we had to use those.
PINK TIP #9: Stencils are a great tool to use if you don’t feel comfortable freehanding your design. These can be purchased or even made with craft cutting tools (i.e. Cricut or Silhouette machines).
Step Ten
Finally, all done. Now all you have to do is decide where to hang this cute rustic heart you created.
We hope you enjoyed our quick tutorial to make a rustic heart sign using scrap or recycled wood you may have on hand. Using power tools for the first time can be intimidating and a little scary. We always recommend watching videos before or if possible, having an experienced user there with you to provide useful tips along the way. There’s nothing more rewarding than looking at your completed project and saying, “I did that!”, especially when it’s something you’ve never tried before. This rustic heart project was done by myself, a power-tool newbie, with guidance from our in-house power-tool professional. I’ll leave you with one final PINK tip-
PINK TIP #10: Never be afraid to try new things.